A workspace is your dedicated, centralized hub for managing a specific property, complex, or portfolio of facilities. It's where all your assets, work orders, procedures, and collaborators come together.
Here's how to set up your new workspace:
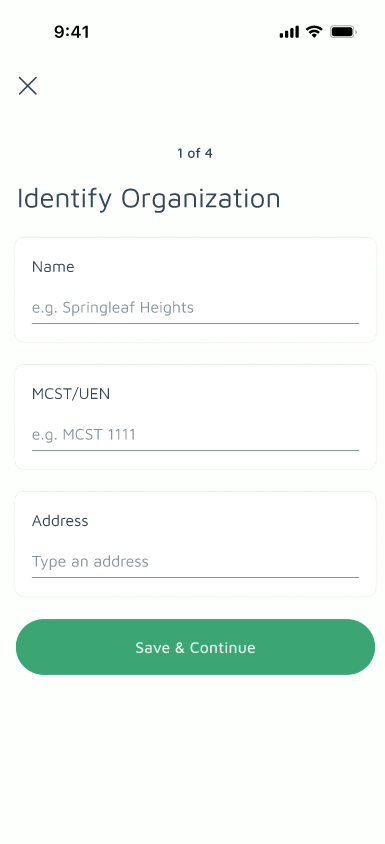
Step 1: Identify Workspace
Enter the core details that identify your property:
- Name: A clear, descriptive name for your workspace (e.g., "Main Office Properties," "Residential Complex").
- MCST/UEN: Your MCST number or Unique Entity Number.
- Address: The physical address of the property.
Step 2: Financial Info
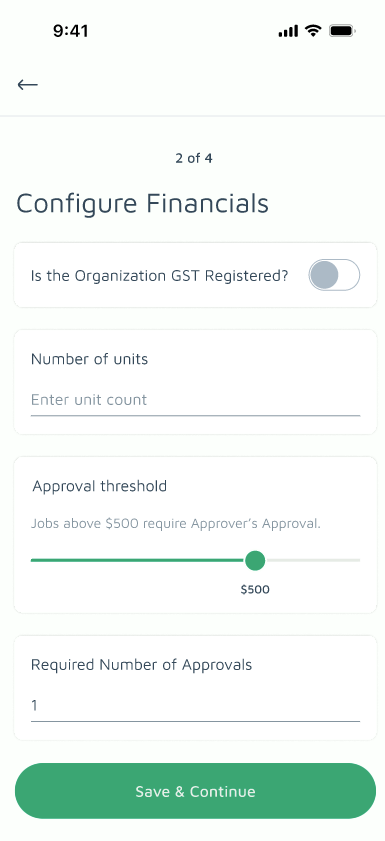
Set up the financial parameters that govern how work orders are approved:
- GST Registered: Indicate whether your MCST is GST registered.
- Number of Units: The total number of units in your property.
- Threshold Amount: The cost threshold above which a work order requires approval before reaching a vendor.
- Number of Approvals: How many approvers are required to sign off on work orders exceeding the threshold.
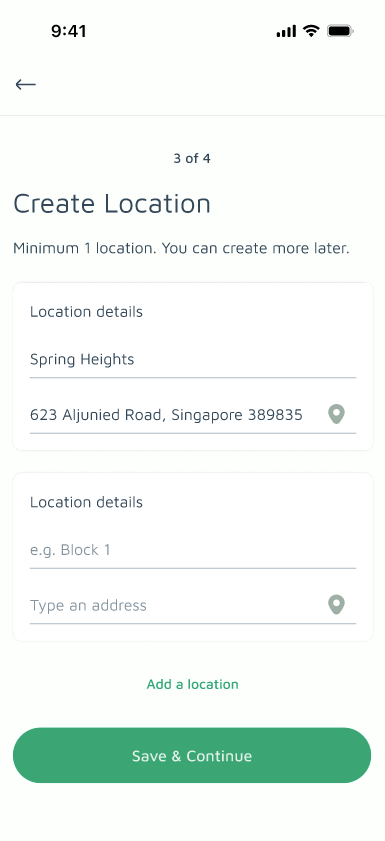
Step 3: Create Location
Set up your first location. The address entered in Step 1 will automatically carry forward as your default location, saving you from re-entering it.
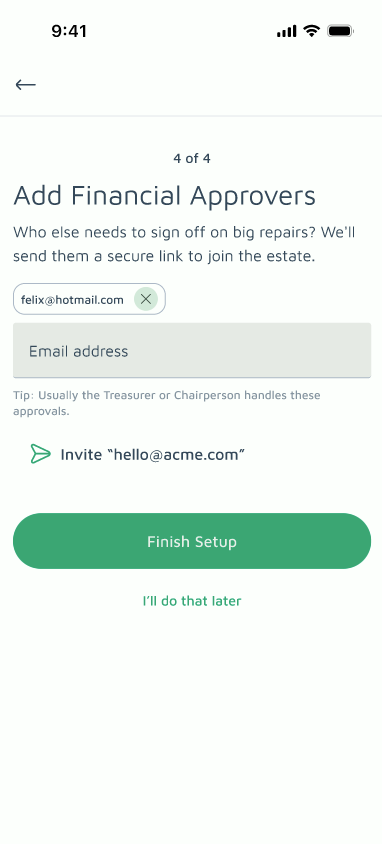
Step 4: Invite Approvers
Invite the members responsible for approving over-threshold work orders:
- Enter an approver's email address.
- Tap Invite.
- Repeat until all required approvers have been invited.
Step 5: Finish Setup
Once all approvers are invited, tap Finish Setup. You'll be redirected to the Setup Completed page, where you can choose to:
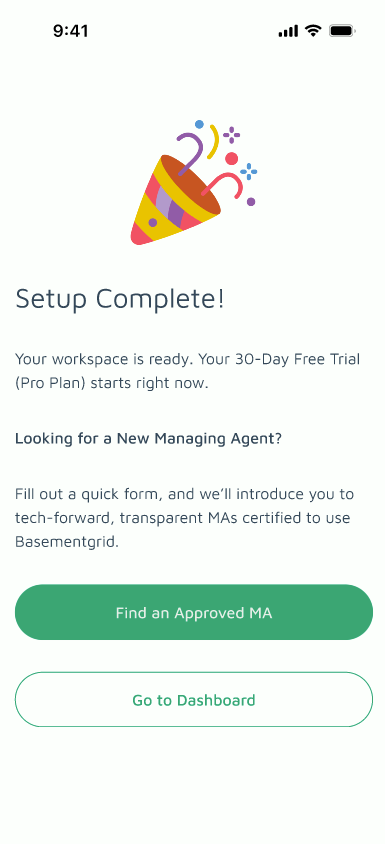
- Go to Dashboard: Jump straight into your new workspace.
- Find an Approved MA: If you don't yet have a Managing Agent, we'll refer you to one of our approved MA partners, who will reach out to you shortly.
