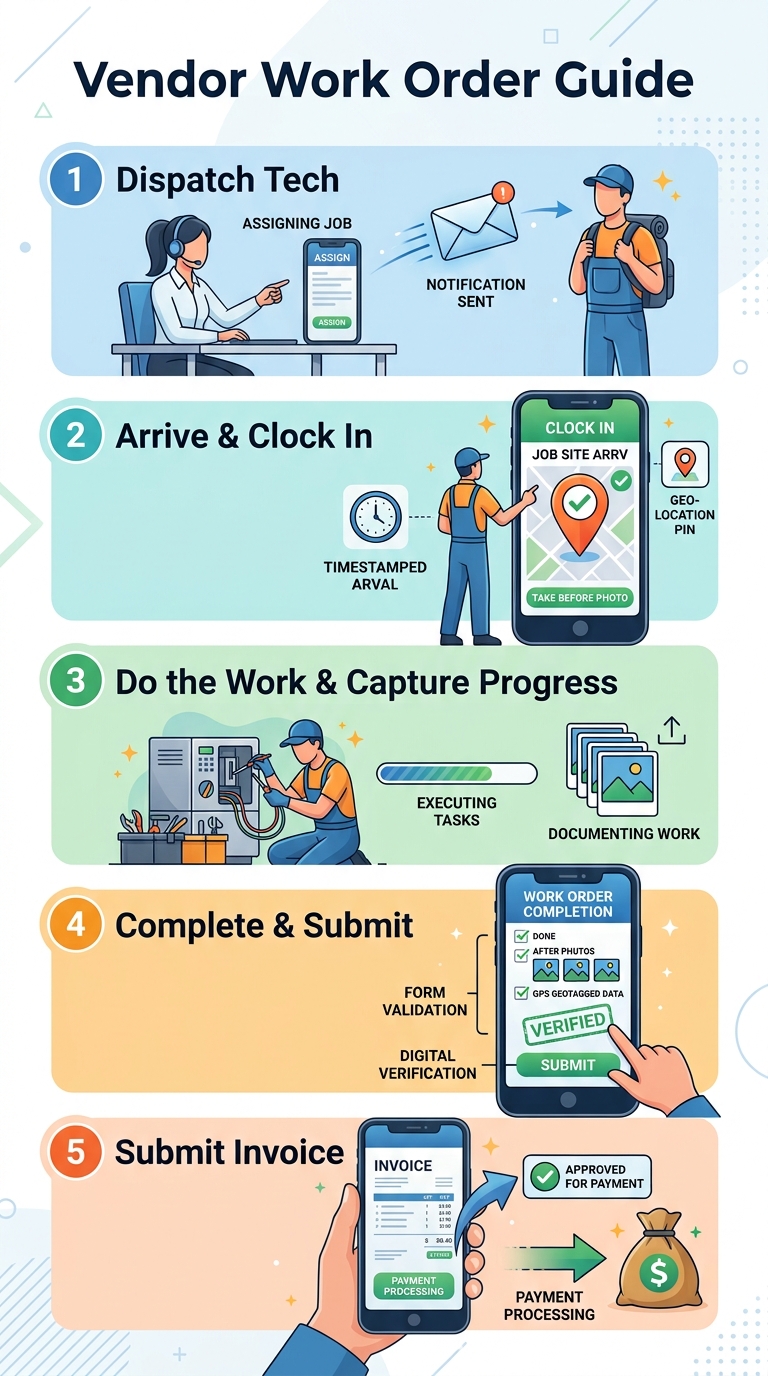
Follow these simple steps every time you do a job so your work gets approved quickly and you get paid on time.
Step 1: Send Your Tech
-
Assign Staff: Open the app and "Dispatch Technician" to the Work Order.
-
Check Job: Read the job details and address.
Step 2: When You (Your Tech) Arrive
-
Clock In: Open the app, find the correct Work Order card, and tap "Clock-In".
-
Take "Before" Photo: Take clear photos of the area before you start work.
Step 3: Do the Work
-
Finish the Job: Complete all tasks listed.
-
Take Progress Photo: Snap photos of replaced parts or hidden work while working.
-
Need Extra Work? Stop and ask the manager first before doing extra work.
Step 4: Before You Leave
- Start Completion Process: On the same Work Order card, tap "Complete Procedure".
-
Take Photo or Video: Fill in the Completion Record or Asset Verification form. Use the app camera to snap photos or record videos to verify your work and GPS location. (Note: You must take photos/videos inside the app. Phone gallery upload is not allowed).
-
Fill Extra Forms: Complete any other attached forms if required.
-
Submit & Check Status: Tap "Submit" and make sure the Work Order status changes to In Review before you leave.
Step 5: Submit Invoice (Paid Jobs)
-
After Acceptance: Once the building manager accepts your completed job, you will be required to tap Submit Invoice to process your payment.
App Not Working? Call or message your manager right away for assistance.
