Step 1: Access Vendor Management
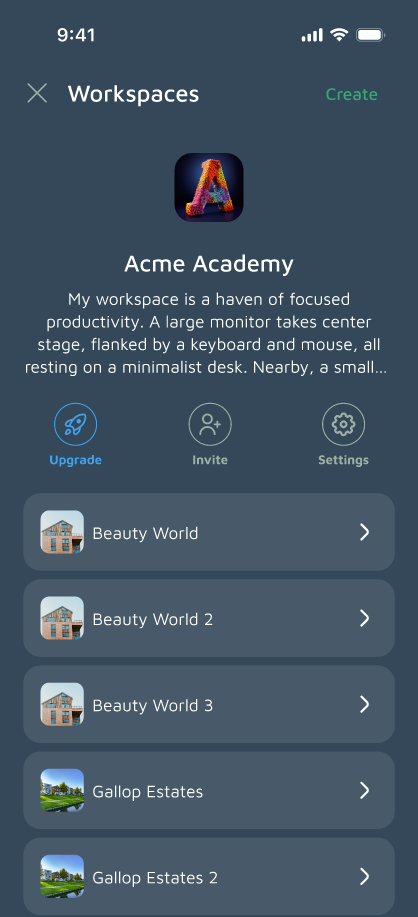
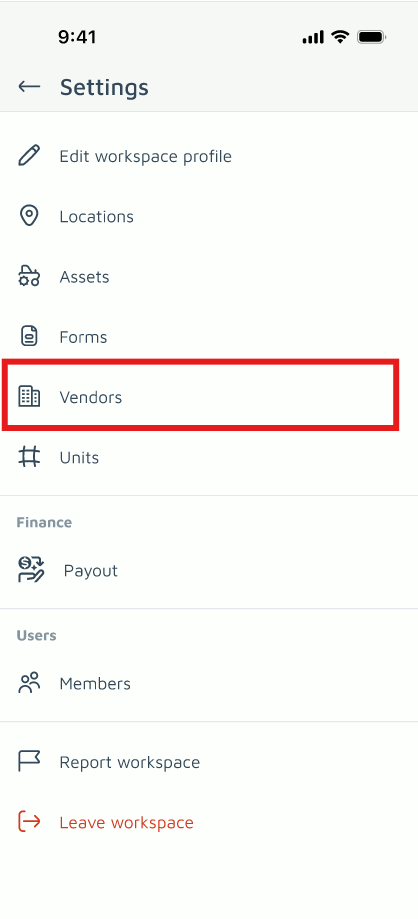
Log in to your Basementgrid account as an Administrator. Navigate to the workspace "Settings", then look for "Vendors". This will take you to the vendor management interface.
Step 2: Initiate Adding a New Vendor
Within the vendor management screen, locate and tap the "+" icon button. This will open a form for entering the vendor's details.
Step 3: Enter Required Information
The only mandatory field to add a new vendor is the:
-
Vendor Name: Enter the full legal or trading name of the vendor (e.g., "ABC Plumbing Services," "XYZ Electrical Solutions").
Step 4: Fill in Optional Details (Highly Recommended)
While optional, providing additional contact information for your vendors is strongly recommended for better communication and record-keeping. You can include:
-
Label: A short, descriptive tag for the vendor (e.g., "Plumbing," "HVAC," "Cleaning").
-
Address: The full physical address of the vendor's business.
-
Contact Person: The name of your primary contact at the vendor company.
-
Designation: The role of the contact person (e.g., "Account Manager," "Service Coordinator").
-
Email: The primary email address for communication.
-
Phone: The main contact phone number for the vendor.
Step 5: Save the New Vendor
Once you have entered the required and desired optional information, click the "Create" button to finalize the entry. The new vendor will now appear in your list of available vendors and can be selected when assigning work orders.
Adding comprehensive vendor information ensures that your team has all the necessary details at their fingertips, streamlining communication and improving the efficiency of your maintenance operations.